
If you’ve ever wanted to throw out your oven because the “world’s best” cookie recipe was a dud the second time you tried it, you’re not alone. Sometimes, the tiniest changes can ensure you get a killer batch of cookies every single time. (And don’t worry, we won’t get tediously technical on you—maybe a few Bill Nye the Science Guy-esque flourishes, but that’s it. Promise.)
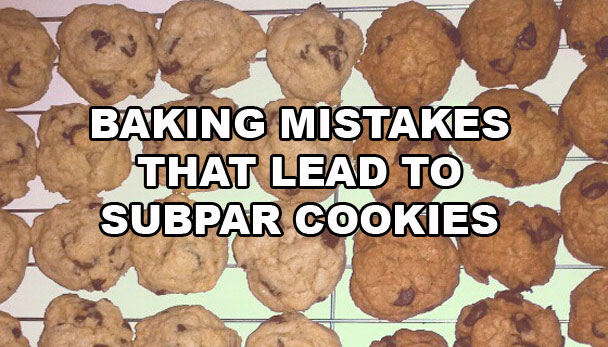
Mistake No. 1: The cookies are too small.
Recipes can vary wildly on how many cookies a batch of dough should yield, and often, the size of each cookie is anyone’s guess. I’ve found that erring on the side of oversize usually means the cookies bake a little longer, but they’re less likely to get overcooked and turn rock-hard as they cool. Since I’m not so great at doling out even amounts of dough, I typically use an ice cream scoop to create uniform balls. Plus, that rounded top helps them bake into a perfectly rounded, slightly dome-topped cookie. Schfancy.
Mistake No. 2: You followed the recipe exactly.
Wait, what? I know it sounds crazy, but baking times really do vary from oven to oven, so your best bet is to learn whether yours runs a little hotter (or cooler) than the temperature it shows on the dial, which can really affect baking times. The best way to do this is to get an oven thermometer, but let’s be real: Ain’t nobody got time—and cash, and drawer space—for that.
For your first run of a recipe, check on the cookies about two minutes before the time is up. Are they lightly golden? (They’re already ready!) Totally mush with a glistening, dough-like top? (They’ll probably need extra time.) A little golden color is perfect. Ideally, they should be a little gooey in the center, but that’s it. (It’s a good sign that they’ll be perfectly cooked when the timer goes off.) When you insert a toothpick in the center of the cookie, it should come out clean—a few crumbs are fine, but a slick of goo means it needs more time.
Once you have a gauge of how spot-on your oven is in terms of temperature, you can start adjusting recipes automatically. If you tend to burn cookies all the time, try reducing the baking temperature by 25 degrees—when the timer goes off, your cookies should be perfectly cooked. (At least that works for me.)
Mistake No. 3: The flour’s a little off.
If your cookies have spread way, way out—or turned into little rocks that hardly spread at all—the amount of dry ingredients you used is most likely the culprit. Too little flour = flattened cookies. Too much flour = little rocks to hurl at your haters.
For the best results every time, spoon the flour into a measuring cup, then use a knife to swipe off any flour that goes above the rim of the cup. That way the flour won’t get packed in, resulting in dense, rocky cookies, and it won’t be so loosely scooped that you’re chasing down runny treats.
Mistake 4: The whole time you’re creaming the butter and sugar, you’re wondering what the heck that means and when you’ll know when it’s ready.
The recipe says to wait until it’s “light and fluffy,” which calls to mind cotton candy…not exactly wet, gloppy batter. Here’s the trick: Start with room temperature butter, chop it up into 1-inch chunks, and stick it in a mixing bowl. Using an electric mixer, beat the butter at a low speed to get it nice and whipped (about 30 seconds). Then, pour in the sugar. Gradually crank it up to high, so everything’s really getting whipped together. The butter-sugar mixture will start to expand in volume, looking like the Sandman and Stay Puft’s love child. Once the mixture has the texture of gritty buttercream frosting, it’s ready to go. The whole process usually takes me about 6-8 minutes, so be patient. (You’re basically whipping air into the butter to make the cookies lighter and fluffier.)
Mistake No. 5: You didn’t check the expiration dates on your dry ingredients.
Rarely used pantry items usually have a pretty long shelf life—and they tend to live there forever. If it’s been a few months since you last baked—or you know you bought those dry ingredients more than a year ago—check their expiration dates. Old baking soda and baking powder can really throw things off. To test whether baking powder is still good, try this trick from Good Housekeeping: Add 1/2 teaspoon to 1/2 cup hot water. If it fizzes, it’s good to use. Do the same thing for baking soda, only add a 1/2 teaspoon of white vinegar to the water before pouring in the baking soda.